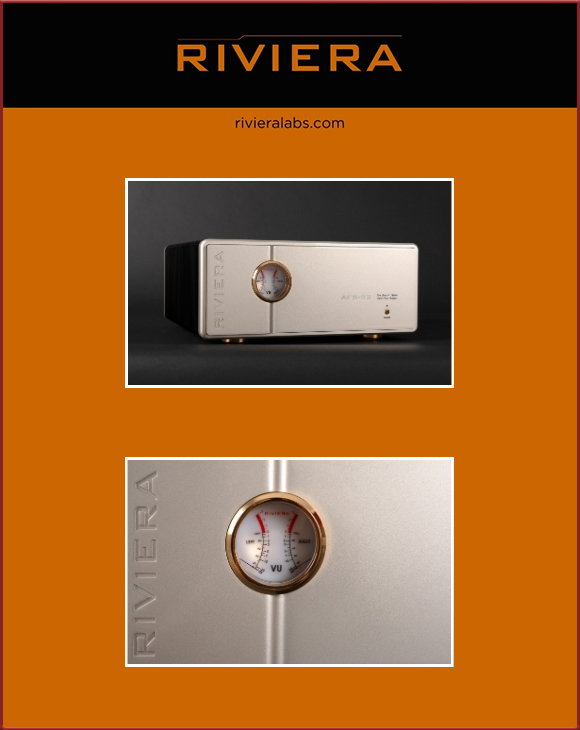
Adding a counter force—anti skating—insures that the needle's tip stays in the centre of the groove. In tangential tonearms however, neither tracking error nor skating factor. When playing the record with such an arm, it's like cutting the record in reverse. Cutting the record, the cutter lathe's stylus is fed a music signal which moves it to thereby create the groove in the wax or metal master. During replay, the groove's pattern causes the stylus to move and through a combination of magnets and coils., it generates a music signal which only needs some equalization and plenty of gain to forward to the rest of the playback chain. The promise of spending some time with the Holbo turntable was thus very promising.

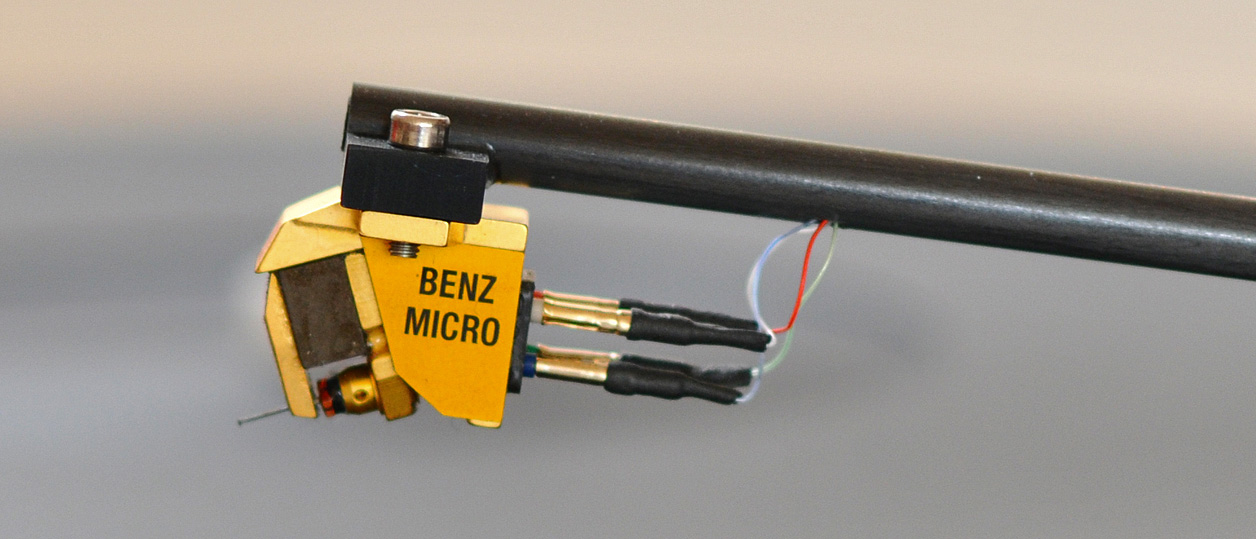
Not long after accepting this review request, a modest cardboard box bearing the word Holbo arrived. When we opened the box, we found an almost ready-to-play turntable already assembled. The only thing we still had to do was mount and adjust the cartridge, in this case a Benz Micro Ruby Open Air 2 as Bostjan's favorite. His 8-page manual was clear with sufficient pictures to tell the story. After we emptied the box, we had a 43 x 40 x 15cm turntable weighing 12kg and a 22 x 14 x 12cm air pump compressor for the bearings, a long 6mm PVC hose, two belts, the counterweight, a selection of Allen keys, a linear gauge and the Benz Micro cartridge. Reading the manual before working on the turntable more paid off by taking precautions for the three very sharp feet under it. With the weight of the assembly, they would easily sink all the way into a softer wooden table like our cherry specimen.


With manual in hand, we followed the instructions to set up the Air Bearing System. Next to the tools provided, we used a handful of micro levels, one bigger one, a strobe mat and a needle pressure scale. First we had to mount the belt—the second one is a spare—from the DC motor spindle to the black Delrin edge of the platter. The next step was to level the thing with its two adjustable feet. Here some lifting was needed as the feet are not accessible otherwise. So be mindful to have the arm fixed in place with the rubber band to avoid it sliding off the stainless-steel tube and possibly damage the wiring. With the plinth/platter set to level, we had to attach the hose between pump and turntable. Power to the turntable was assured with the AC/DC adapter. So was AC to the air pump.
After powering up first pump then table, we were supposed to check for speed accuracy. With the air pump running, we immediately noticed that it was of extremely low noise – almost silent even at close range. No doubt the four soft footers helped an already clever design and even with our high sensitivity to noises, we did not think it necessary to move the air pump away from the listening area. Next we checked for both speeds where fine tuning is done with a small screwdriver on the back of the turntable. Working close up, we could not miss the typical DC motor noise. In an email conversation with Bostjan, he announced a new motor that is very quiet and will be mounted to any new turntable built.